
Handmade Computer Shelf using Xyron and DCWV
So I have been having a horrid run of bad luck with technical equipment these past few weeks. The refrigerator, dishwasher and drier all decided to break down. Then my car needed a replacement clutch and flywheel and to top it all off my Laptop USB' ports ALL fell apart and disintegrated. I swear I must have 'The Force' cause nothing in my hands is safe at the moment.
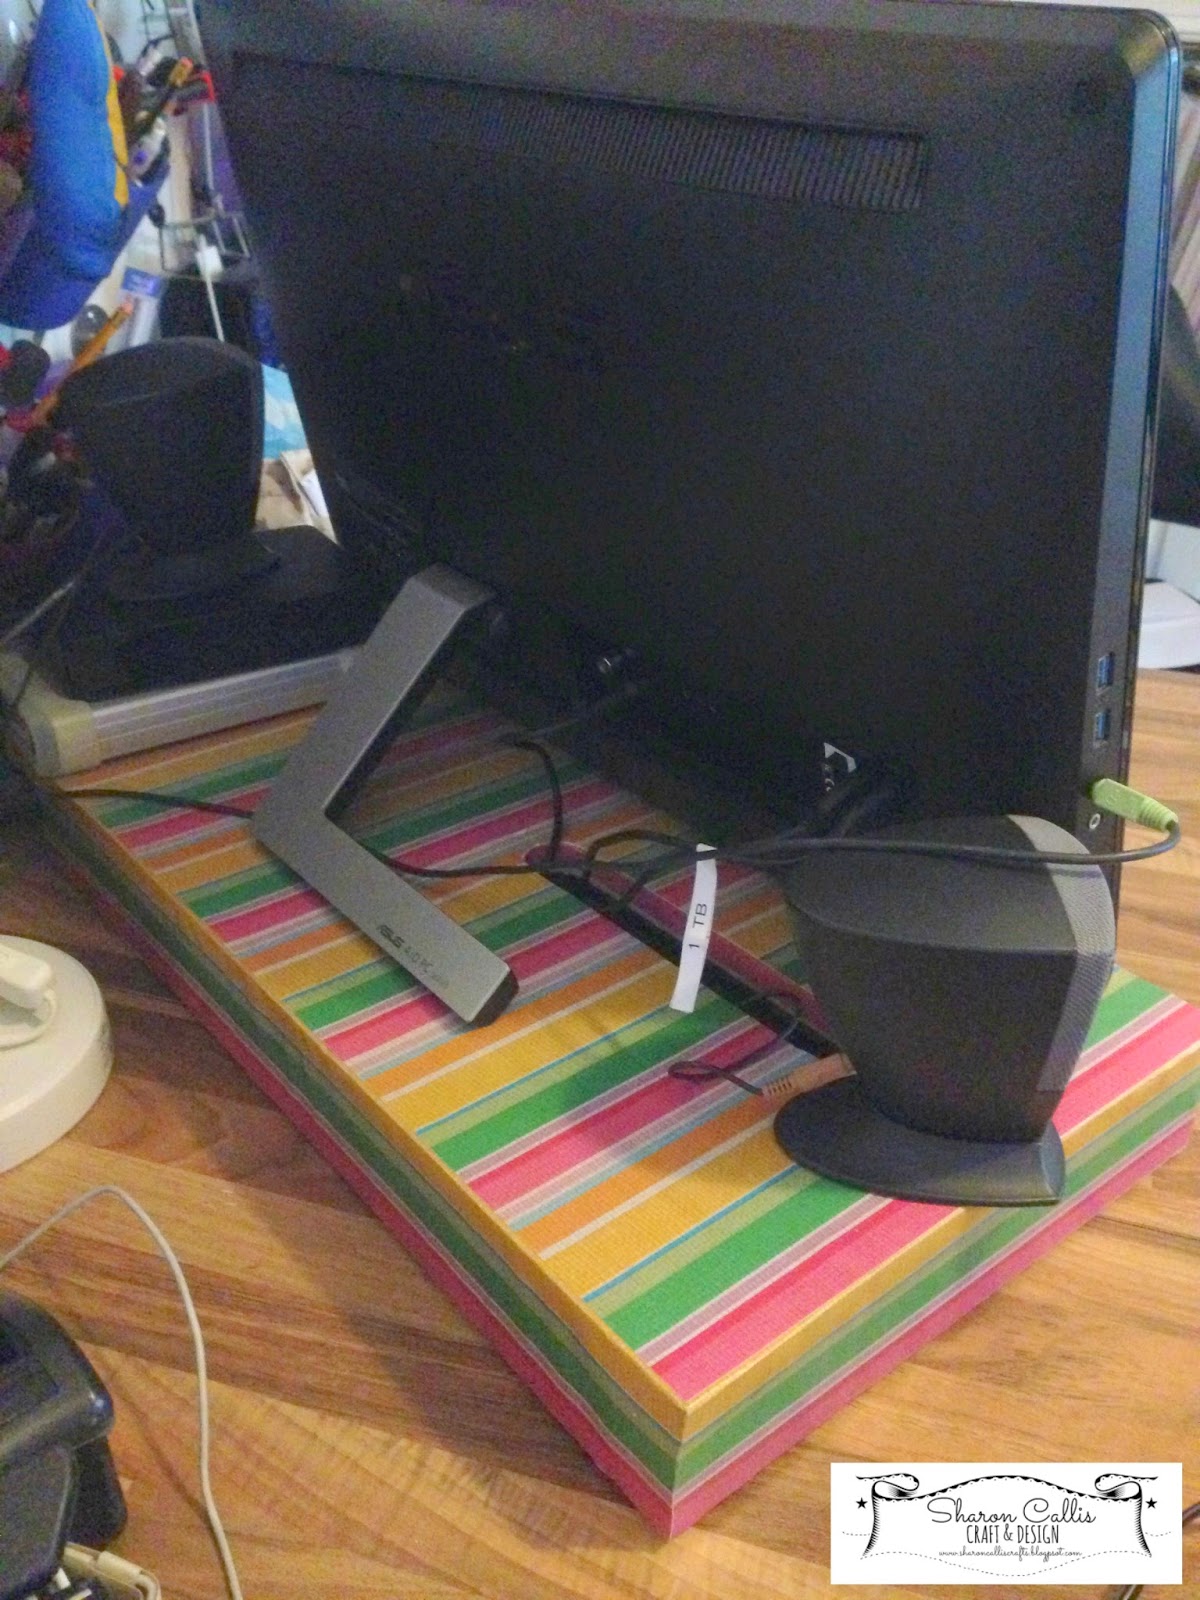
I decided to upgrade from a Laptop to one of those fancy pants touch screen all in one desktop PCs. Yep I'm wondering too how long it will take for me to break it lol. So since this new piece of kit takes up a lot of desk space I decided to make a shelf for it so that the keyboard and mouse could be hidden when not in use. Plus I have two external drives and a set of speakers not to mention a sea of cables cluttering up my work space.
I wanted to keep it simple and not have a mega structure sitting on my desk so I made a single shelf unit but I can adapt it in the future if needed. Oh and one more thing, I ain't no carpenter so forgive the rough put together :).
I covered the outside and will paint the underside but wanted to blog the basics :).
PC Shelf
Supplies
Xyron Creatopia
Xyron 9" Creative Station
DCWV The Homespun Stack
Mod Podge Hardcoat
1" Plywood
Foam Strip
How it's made
Measure and cut the pieces
Cut out the center piece for cable access
You can either use screws through the top into the side pieces alone but I added brackets because the PC is very heavy and i wanted the extra support.
Add the back piece but ensure it is to one side to leave a gap to feed cables through
I used an electric plain on the edges to smooth them out
Yep it aint the prettiest yet but a few coats of pain should fix that, or I might remove the hinges, cover with paper and put the hinges back
I picked the striped papers from the DCWV
Cut pieces to cover the side walls and using the 9" Creative Station over the outside of the shelf.
The centre hole needs to be covered before the top using strips of paper
The top of the shelf needs two sheets of 12 x 12 paper. Run through the Xyron Creatopia and place on the top.
Cut the opening out. Apply three coats of Mod Podge
The finished shelf
Thanks so much for stopping by today, make sure to follow Xyron and DCWV on Facebook .
I'm also on facebook if you want to stop by and say hi !
See you again soon.


Very clever Sharon, loving your DIY skills. Tracy x
ReplyDeleteWhat a clever idea Sharon, well done for coming up with fabulous idea. Its lovely how you have decorated this with DCWV papers and it looks amazing.
ReplyDeleteMissy Pink - The Crafty Pink Girl x